Would you like to eat more natural probiotics? Well now you have no excuse! We tell you how to make 5 natural probiotic foods at home.
Would you like to eat more natural probiotics? Well now you have no excuse! We tell you how to make 5 natural probiotic foods at home super easily and without the need for any special equipment, just with the utensils that you surely already have. With these 5 homemade fermented recipes you will learn how to make:
Why consume natural probiotic foods?
It has been talked about many times about the benefits of natural probiotic foods for health. Although they are as old as the history of humanity, sometimes we think that it is very difficult to access them. In this article we mentioned the 18 probiotic foods that you can introduce into your daily life . Now, let's make it very very easy for you. We are going to tell you how to make natural probiotics at home. Starting from scratch and with ingredients that will be very easy to find in any food store.
Our experience with probiotic foods
Long before you start making kombucha, first homemade and then on a large scale in munkombucha.com, our beginnings were with this type of food. First we start with the most common, the bread. With flour and yeast it is easy to make delicious bread at home. Then, over time, we began to improve the technique with sourdough and longer fermentations. This process is also very useful to adapt the palate of industrial foods to more real ones.
Later we started with the sauerkraut. It is perhaps the easiest way to transform a vegetable into a probiotic food. And this path had no turning back: if the pickles, what if the kimchi... until by chance, kombucha found us, but that's another story.
And this path has no end. This summer for example, we have done for the first time umeboshi! Yes, yes, fermented plums. The only thing we have done is our own way, and the truth is that we are very proud and happy to share it with all of you.
Below we explain how we make these delicious super-nutritious foods at home and without any equipment that you cannot find in your kitchen:
Sauerkraut

One of the natural probiotics is sauerkraut. As simple as fermenting cabbage. You hadn't imagined that being able to make a natural probiotic food at home would be so easy, right? Sauerkraut has practically 2,000 years of history. It is documented in some Roman writings from the 1st century BC. In the modern era, between the 16th and 18th centuries, its expansion began among many Central European cuisines such as Germany, Austria, Alsace, Switzerland, Poland, Russia and Ukraine, where it is still a main protagonist in many of their dishes.
This natural probiotic vegetable proposal, which you have surely accompanied more than once with meat or sausages, is the result of a lactic fermentation of the leaves of finely cut cabbage. Lactic? No, no, it doesn't have milk. Fermentation is achieved from the action of acidophilic bacteria that anaerobically metabolize the sugars in cabbage, producing lactic acid. A metabolite that not only enhances the flavor of the vegetable, but also has the very important role of preserving the cabbage and thus extending its edibility period.
Captain Cook , 18th-century British explorer and scientist, brought sauerkraut with him on some of his seafaring expeditions. With this culinary preparation of a natural probiotic that has almost no expiration date, the crew members, in the absence of fresh vegetables, used the virtues of sauerkraut during their voyages, which, among others, provides vitamin C, ideal for stopping scurvy. A disease caused precisely by the deficiency of this vitamin. Thanks to this innovation, Captain Cook discovered Polynesia and spent more than three years sailing around the world without suffering a single casualty from scurvy.
Let's get to the point... To make a good homemade sauerkraut you will only need:
- 1 cabbage (cabbage) approximately 1 kg
- 15 g of salt (1.5% of the weight of the cabbage)
- Juniper berries
- Caraway seeds (cumin)
On the surface of cabbage there are all kinds of microorganisms. For it to ferment and not rot, we need lactic acid bacteria to proliferate. Putrefactive bacteria need oxygen to proliferate. Well, we are going to do just the opposite! And to do it we are going to use salt. The salt will make the cabbage release its juice, and if all the cabbage is submerged... voilà! there is no oxygen!
The preparation is very simple. You just have to cut the cabbage into thin strips and add the salt. Massage the cabbage and you will see how it begins to release the water it contains. Add the juniper and caraway and place the mixture in a glass jar. They sell special containers that allow CO2 to escape: glass jars with lids to connect a airlock (or siphon) or ceramic vessels type crock. But to start, a glass jar with a lid, like the ones used for legumes, will do. The trick is to fill it with the chopped cabbage, and press it in layers so that there is no air left inside. You have to fill it up to a centimeter from the edge, well pressed and covered with juice. For a week, leave it in the kitchen, at room temperature, on a plate and with the lid slightly loose. Two or three times a day, open the jar and use a cutlery to press the cabbage down so that it releases the gas. You will see that from the 6th or 7th day it hardly makes any bubbles. It is time to press it well, cover it tightly and store it in the pantry for a few weeks so that it continues fermenting.
If it is your first time fermenting, you can make several jars and open them with different weeks of fermentation, to see how the flavor evolves. In general, in a month it will be ready to consume.
Kimchi

Kimchi is another natural probiotic and is the equivalent of European sauerkraut made in Korea, with Korean ingredients and adapted to the Asian palate very accustomed to strong and, above all, spicy flavors.
The cabbage used is known as Chinese cabbage. and it is somewhat more difficult to find than the usual cabbage in all stores, especially during the winter. It is more similar to lettuce, with long, very white leaves.
Like all fermented vegetables, kimchi was born with the aim of extending their edible life. Initially, it was fermented in vessels buried in the ground and was not spicy. Later, with the introduction of New World crops in the 17th century, spicy chilis were gradually added to the original recipe.
There are many kimchi recipes, but here we suggest making one that is entirely vegan . For this you will need:
- 1 kg of Chinese cabbage
- 3 carrots
- 1 daikon turnip
- 1 piece of ginger
- 4 cloves of garlic
- 100 gr of gochugaru
- salt
There are many kimchi recipes. It can be made with fermented fish and gluten, but we like to use only vegetables, as if it were a vegan kimchi.
The recipe for homemade kimchi is similar to that of sauerkraut, since it is also a lactic fermentation. We have to ensure that the vegetables are well submerged in their own juice, to guarantee the absence of oxygen and, on the other hand, the spicy ingredients will also help the mixture not spoil.
First cut the bok choy in half and then into quarters. Wash them and add plenty of salt, letting them rest for about 6 hours. You will see that they are soft and release a lot of juice. Cut the carrots and daikon turnip into strips, or if you prefer, into slices.
To prepare the spicy Korean paste, put the peeled garlic and the piece of ginger in a food processor, and grind it until it becomes a paste. Then add the gochugaru and mix well. You can add a little of the juice that the cabbages have released to make it more liquid.
Now, coat the cabbage pieces with the spicy paste, mix it with the carrots and daikon turnip, and put it in a glass jar that allows the carbon dioxide that will be generated to escape. Kimchi ferments much faster than sauerkraut, so after the 4th or 5th day of fermenting at room temperature it will be ready for consumption. Once started, it is better to store it in the refrigerator to stop fermentation.
Pickles

Pickles are the most basic and also the easiest way to prepare delicious fermented vegetables. There are as many possible combinations as there are gastronomic cultures in the world. Each country has its specialties.
To make pickles you can use root vegetables (carrots, radishes, garlic...), or even cauliflower.
The preparation is very easy and for this reason you can always have pickles at your disposal in the pantry (until you start the jar, you do not need to keep them cold) and, with them, keep your intestines happy with the contribution of probiotics what these suppose.
The method to start the fermentation is slightly different than that used for sauerkraut and kimchi, since root vegetables do not make juice, so we are going to use the brine to submerge them and thus avoid the presence of oxygen.
The pickles recipe is very simple. You just have to clean the vegetables, whole or in pieces, place them in a glass jar, and add a 4.5% brine solution (that is, 45 grams of salt per liter of water). It is very important that the brine covers the vegetables well. You can complete it by adding aromatic herbs such as thyme or rosemary, on top. These herbs will add aroma and provide tannins, necessary for the vegetables to transform into natural and crunchy probiotic foods in a few days.
Fermented ketchup

Yes, fermented ketchup, you read that right. A fantastic way to add to as many dishes as you can imagine and give them a brutally fun touch.
The origins of this sauce are very different from the one you can now have in the fridge. They date back to the 17th century in China and consisted of a spicy sauce made up of an amalgamation of fish, vinegar and spices. In the Amoy dialect of Fujian province, it was known as 'kôe-chiap' or 'kê-chiap'. Initially, then, the tomato was not part of the recipe.
The expansion of this sauce throughout Europe was not long in coming after the English discovered how delicious it was. With the arrival of new spices in the West in the 17th century, different versions of ketchup spread throughout Europe, appearing varieties such as mushroom ketchup or walnut ketchup. It was in the United States where the tomato was introduced into the recipe and where it is, it took on a somewhat sweet touch with the introduction of fruit among its ingredients after John Heinz discovered the success that this formulation had among consumers.
Be that as it may, we have a perfect recipe to make at home. To carry it out, we recommend that you first prepare sauerkraut or kimchi because you will need a little juice from these fermented foods to make the recipe a success. You just have to crush the following ingredients and let the future ketchup ferment for a week at room temperature:
- 500 gr of crushed tomato, drained
- 2 tablespoons of mustard
- 1 tablespoon of honey
- pepper to taste
- hot chili to taste
- 1 tablespoon sauerkraut juice or kimchi
Sourdough

Before starting to prepare the bread we need to produce the sourdough, and this will take a week of time. Once we have sourdough and we save a small amount, we can make our delicious sourdough bread that we assure you will captivate you like no other you have ever eaten before.
How to make rye starter?
To make the sourdough we only need whole rye flour and water. The process will take about a week. Follow this process closely:
- Day 1. We will start the first day by mixing 30 grams of rye flour with 30 grams of water. We will put it in a covered glass jar.
- Day 2. We will mix the preparation of the previous day again.
- Day 3 to 6. We throw away half of the mixture. Add 30 grams of water and 30 grams of rye flour and mix well.
- Day 7. We observe how the mixture has doubled in volume. From this moment we already have mother dough.
Sourdough
To make sourdough bread we can use any bread recipe, substituting industrial yeast for sourdough, and adjusting the ingredients to maintain the desired hydration.
First we will start by producing the amount of starter we need for the recipe. To do this, we take about 30 grams of sourdough that we have stored in the fridge and add another 30 grams of flour and 30 more of water. Mix well, leave it in a covered jar, and wait for it to double in volume. When it has doubled, it may have been all night, we add another 60 grams of flour and 60 more of water. We mix well again and leave it at room temperature in a covered glass jar, and wait for it to double its volume again. Now this fermentation will be faster than the previous one. When it has doubled the volume we will have it ready to start preparing the bread.
Basic bread recipe with sourdough
Ingredients
150 g of 100% white wheat hydrated active sourdough (starter)
200 gr strong flour
300 gr of kamut flour, spelled, integral ... the one you like the most
325 grams of water
12 grams of salt
In percentage:
30% 100% hydrated sourdough
70% water
2% salt
Recipe
You need two fundamental ingredients: patience and time. So you will have a fantastic reward. You are only one step away
to make your first tasty and healthy bread and, best of all: with a taste and smell like the one you haven't tasted for a long time!
Steps:
- Autolysis: Mix the flour, water and starter and let it rest for 30 minutes
- Add the salt
- Mix the dough in the bowl with your hands.
- Let stand 15 minutes
- Make 5 sheets of dough (inside the bowl)
- Let stand 15 more minutes
- Redo 5 folds
- Let stand 15 more minutes
- Make 5 new sheets again
- Cover the bowl with plastic wrap and let it rest in the fridge for 12 to 24 hours.
- Remove the dough from the fridge. You will see that it has increased considerably in volume
- Put the dough on the counter with enough flour so that it does not stick. Handle it carefully, making sure that the gas that has been produced during fermentation (alveoli) is not lost.
- Shape it into a ball, and put it in a bowl lined with a cloth coated with flour. Put the 'pretty' part at the bottom
- Let stand 2 hours at room temperature or 6-8 hours in the fridge
- Preheat the oven to the maximum (250ºC) with the oven tray inside (if you have a baking stone, better)
- Turn the bread over parchment paper and make a cut to form the lip
- Put the bread in the oven
- Add moisture for 10 minutes. You can use two techniques: with a small vaporizer with which you will 'wet' the walls of the oven every 3 minutes, until completing the 10 minutes or placing a metal tray at the bottom of the oven while we preheat it and when we introduce the bread add half a glass of water to the tray. When 10 have passed minutes, we can remove the tray
- After the first 10', lower the oven temperature to 200ºC and cook for another 45'. To know that it is cooked, turn it over and tap it a few times. It should sound cluck-cluck. If it goes plop-plop, bake again for a few more minutes
- Remove from the oven and let cool on a rack
- Your bread is ready to eat! Bon Appetite!
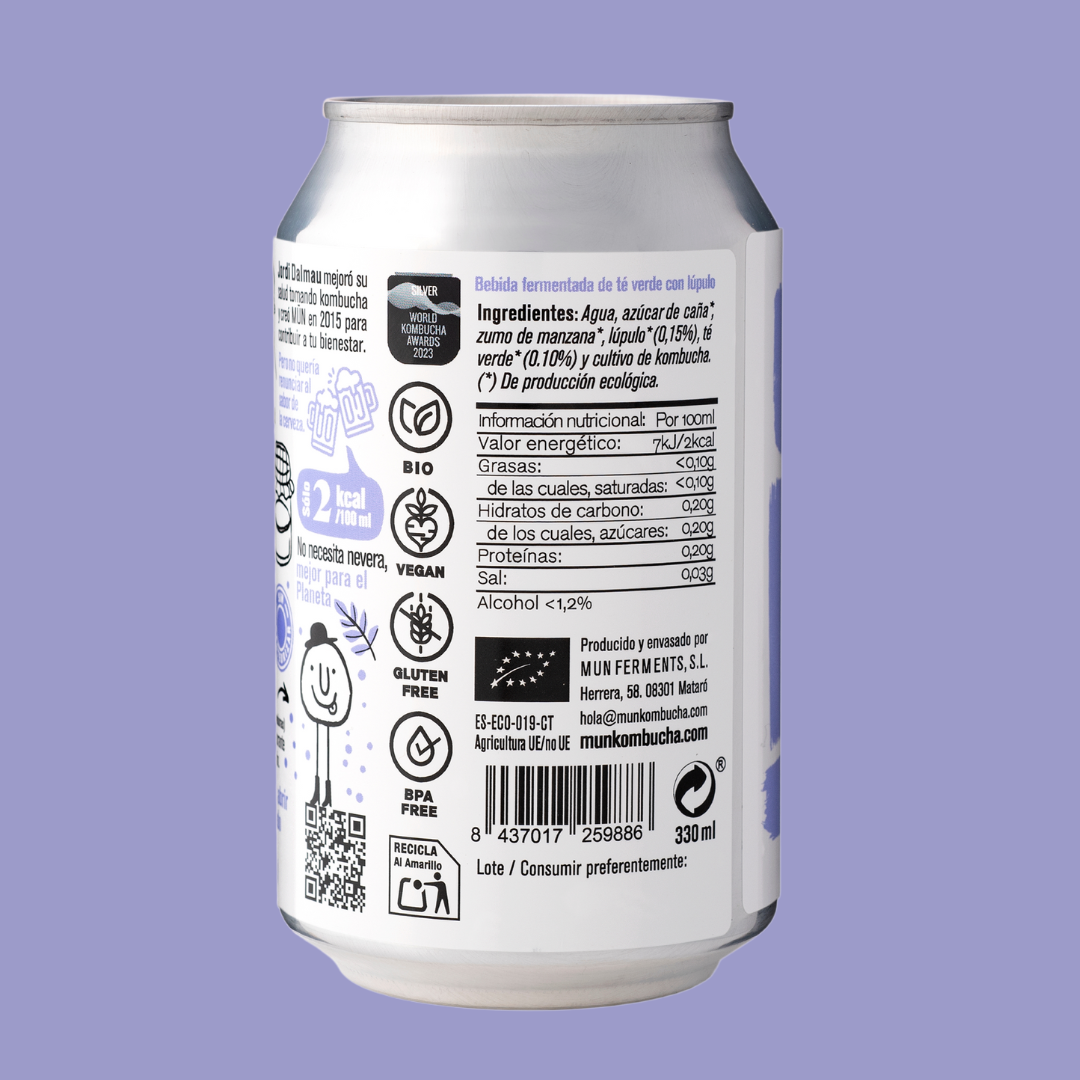
If you have already prepared the 5 natural probiotic foods that we have suggested at home and you still do not have enough, you can start drinking kombucha. Do not hesitate to enter our Kombucha recipes section to see more news. It will provide you with your daily dose of yeasts and bacteria, beneficial for your microbiota, and organic acids, enzymes and vitamins to promote your digestion. Check our catalog here to find out which Mun Kombucha you like the most.
In 2023 we are extending the list of natural probiotic foods to be made at home from scratch
Rejuvelac
Lately we have rediscovered Rejuvelac as a new natural probiotic to make at home. Rejuvelac is an enzymatic drink that is made from sprouted seeds that are allowed to ferment, obtaining a drink rich in enzymes and lactobacillus. The beauty of this drink is that to make it you only need seeds, water and time. These are the steps: For one liter of Rejuvelac we will need:
- Germinate 50 g of seeds until they begin to open.
- Add the sprouts to a liter of water in a glass jar.
- Cover the mouth of the bottle with cotton gauze.
- Let it rest for 48 hours at room temperature and fermentation will begin spontaneously.
- Filter the product and put it in a bottle. Leave it in the refrigerator to cool before consuming.
- Enjoy it and consume it in less than 5 days.

