How to make kombucha at home in 10 steps
With 3 free tricks to improve it!
Fermented tea, kombucha, is on everyone's lips. There are many who discovered it years ago and enjoy its flavor and benefits, but the drink has gained popularity in recent years and has more and more followers. Do you dare to make your own kombucha at home? It is not difficult at all and the ingredients are minimal and, above all, very easy to find. In fact, this is the essence of this lively and healthy drink: less is more. You will only need water, green or black tea, preferably; sugar and a SCOBY (acronym for symbiotic colony of bacteria and yeast) with a little starter liquid ( starter ).
There is another ingredient that, although intangible, is really essential for making kombucha: time . In a time where rush is the order of the day, if you don't have time to get it done, remember that we make it very easy for you. You can buy ready-to-drink kombutxa, with real, natural and ecological ingredients, packaged in glass and with a minimum amount of sugar, in more than 6,000 physical establishments (herbalists, organic stores and supermarkets, restaurants, cafes...) and also in our Online store .
To get a quality kombucha, not overloaded with sugar, which would detract from its healthy qualities, it is very important to be patient and wait for the fermentation to take place. During this time, the magic will have worked and what could be a simple tea infusion, acquires digestive and detoxifying properties and wonderful natural probiotics. Likewise, kombucha is full of organic acids, enzymes, minerals, vitamins... a gem, come on! Its bubbles and flavors make it the perfect and, above all, healthy alternative to soft drinks and low-alcohol drinks.
What do I need to make kombucha at home?
Water . We use filtered water. Try different waters and stick with the one that suits you best. The most important thing is that it does not have chlorine.
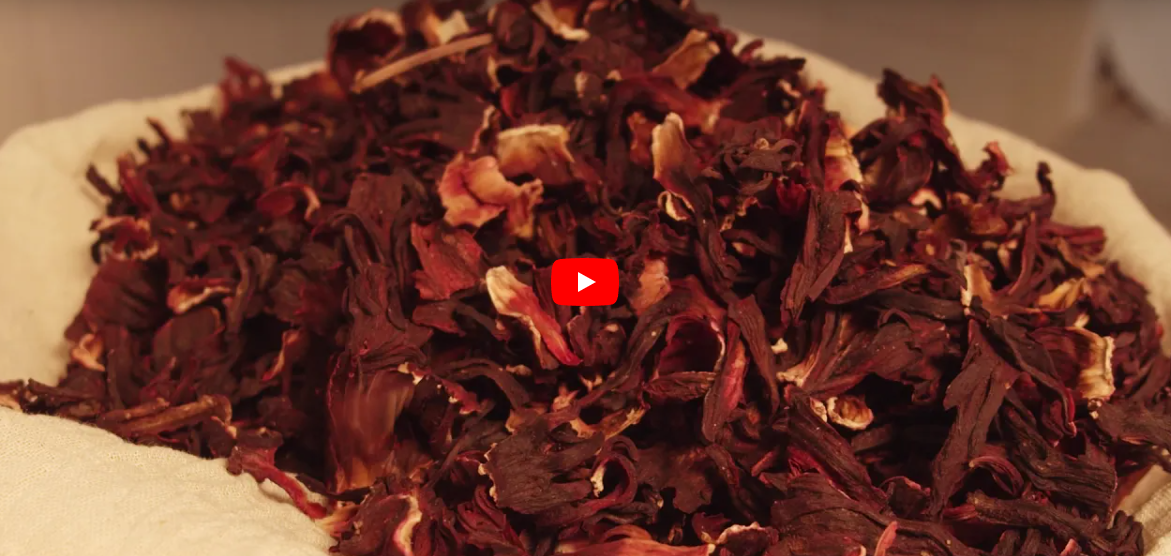
- Tea, green or black . You need an infusion that contains tannins for fermentation to take place. Choose the type and variety of tea that you like the most. Don't make inventions because there is hardly any theine left in the final drink, if that is something that worries you.
- Sugar . The simpler it is, the better. It is essential for fermentation, since it is the fuel used by yeasts and bacteria.
- SCOBY . Also known as kombucha mother or fungus, it will be able to start and finish fermentation over and over again. Pamper him and take care of him like a baby. In our case, we "feed" it with organic cane sugar. It is better not to use panela, molasses, agave... since it will be more difficult for bacteria to reach the simple molecules of glucose and fructose. SCOBY loves SUGAR!
- Initiating liquid. It is essential to use kombucha from a previous batch for two reasons: this liquid is rich in yeasts and bacteria that will ferment the tea, and it also has a very low pH, which guarantees that the fermentation is not spoiled.
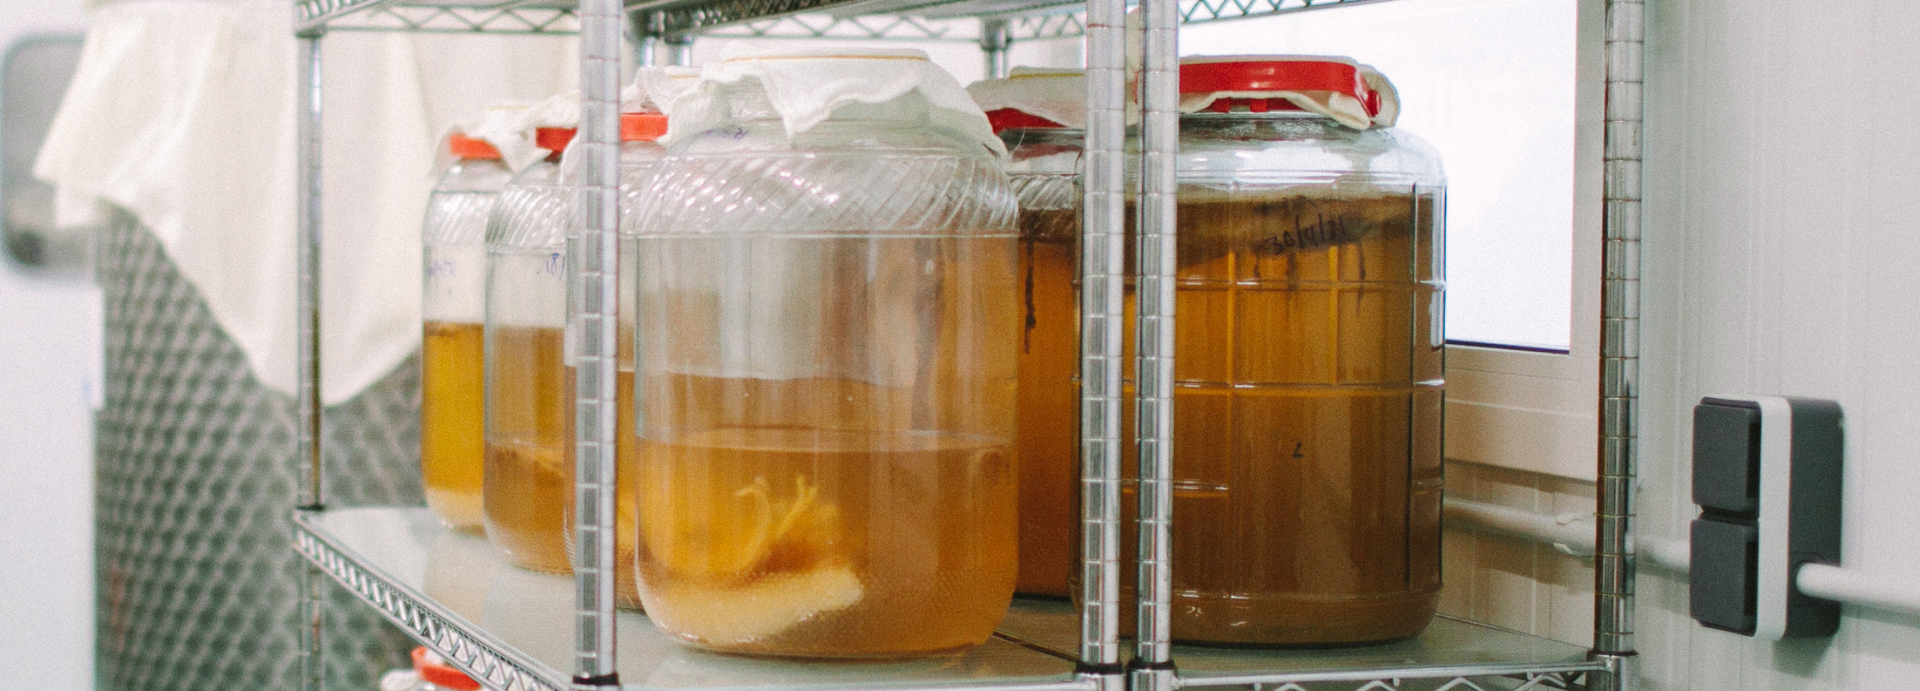
- Large glass container . It will be the 'home' of the kombucha during the weeks that it is fermenting. Important: it must be made of glass and with a wide mouth. Choose good quality and big enough.
- A cotton cloth. We don't want any intruders inside our kombucha, but we do need oxygen to enter for fermentation to take place. We will hold the cloth at the neck of the container with a rubber band or a thin cord.
Let's get to work, kombuchers, let's make kombucha!
First of all, wash your hands. Consciously prepare the space where you are going to prepare your homemade kombucha. You won't make much mess, we promise. In addition, you will not need more space than that occupied by that glass jar that you have chosen to live and ferment peacefully.
And now, here we go with the recipe for one liter. If you want to make more because your glass jar is larger, do it proportionally:
- Heat a liter of water. Don't let it come to a boil. Ideally, it should reach 80 degrees.
- Infuse 3 heaping tablespoons of the tea you have chosen in that hot water. It is very important that it is from the Camelia sinensis family (green tea or black tea). Leave it longer than you would if you were drinking the infusion yourself. We need it to be bitter, a sign that it has extracted the tannins well. If you are concerned about the content of the resulting kombucha , you can read this article.
- Add 70 grams of sugar .
- Let it cool . We don't want to kill the SCOBY, do we? It will be with us for a long time and it is important not to forget that the bacteria and yeasts it contains are alive and that the heat would kill them directly.
- Wait a few hours. Now yes: is it already at room temperature? Time to add the SCOBY and the starter liquid, around 20%. Be amazed, day by day, watching how the SCOBY settles into the boat!
- Cover the jar with the cotton cloth and carefully place the rubber band that holds it in place.
- Now it's time: wait (a lot longer) . Obviously, the tea will be fermented in a few days, but if you don't want to drink too much sugar or the alcohol that is also produced during the fermentation process, it is important that you be patient. At Mun Kombucha, to give you an idea, we wait up to 30 days to finish the first part of the process.
- If you want to taste it , now is the time. Reserve the SCOBY and approximately 20% of the liquid, and use to consume the remaining 80%. Add to the kombucha that you have separated fruit or vegetable juices, roots, infusions... Let your imagination fly and enjoy the most personal and daring mixtures.
- Now, put it inside a bottle . It is very important that it closes correctly if you want to make natural carbonation (the little bubbles!). Wait a few more days. Your homemade kombucha is ready! Bubbly and surprising.
- If you have done the entire process correctly, your kombucha will have very little sugar and you will not need to put it in the refrigerator to stop fermentation. If not, put the bottle directly in the refrigerator. You will see if it has fermented too much and needs cold if when you open it it is overflowing with uncontrollable gas.
Fancy making your kombucha even better? We have 3 infallible tricks
- Buy a pool pH meter . It is economical and will help you control the pH of your kombucha at the time you mix. It has to be below 4. It will also help you control the pH during the fermentation process. Never measure the pH inside the bottle! You could contaminate the mixture. Always take a small amount into a small glass and measure from there. Take the opportunity to try it and see how its flavor evolves throughout the days of fermentation. When you like its flavor, stick with that pH value to have a reference.
- Fermentation depends totally and absolutely on temperature . Keep that in mind. Your kombucha will ferment slower in winter than in summer. If you buy a reptile heater and place it under the glass jar when the temperatures are lower, you will be able to keep the temperature under control, which will be constant.
- Experiment with other infusions! Tea is used because it is rich in phenolic compounds, catechins and flavonoids, minerals. But we also need to extract the tannins. Not all infusions have tannins, for example, rooibos does not. You can replace the tea with leaves that do have it, such as lemon verbena, rosemary, thyme...
Happy fermentation, Kombutxalover!
In this video, you can see the process in a big way. This is how we make Kombutxa in our Mataró workshop.

The 25 mistakes to avoid making kombucha at home
The art of fermentation has captivated cultures around the world for centuries. For many, the process of making kombucha at home has become a passion. But, like any art, brewing kombucha has its challenges. Although it is an exciting and rewarding adventure, it is easy to stumble upon small mistakes that can affect the quality and taste of your drink.
To ensure your kombucha brewing journey is as smooth and successful as possible, we've compiled a list of the 25 most common mistakes beginners often make. These tips will help you avoid common pitfalls and improve your fermentation technique. So, before you dive into the fascinating world of homemade kombucha, take a moment to familiarize yourself with these essential points:
- Not cleaning your utensils properly : Cleanliness is vital to the success of fermentation. Be sure to sterilize your tools with distilled white vinegar and then rinse them with boiling water.
- Use plastic or metal bottles : Avoid containers that are not glass. Glass fermentation bottles are best suited to resist carbonation.
- Buying a SCOBY : While it is possible to buy a SCOBY, getting one from a friend or acquaintance who already makes kombucha is a great option. Not only is it more sustainable and economical, but it gives you a more personal connection to the fermentation process. Additionally, sharing SCOBYs is a tradition in the fermenting community and strengthens the sense of community among kombucha lovers.
- Add vinegar to the mixture : Although kombucha has an acetic component, you should not add additional vinegar, as this can spoil the fermentation.
Choosing the wrong starter tea : When choosing a tea, avoid herbal infusions and opt for authentic teas such as black, green or oolong.- Use unfiltered tap water : The chlorine in tap water can be harmful to the SCOBY. Use filters or methods to remove these compounds before using the water, or use mineral water
- Start with overinfused tea : The infusion time of the tea is crucial. Too strong tea can negatively affect the taste and health of the SCOBY.
- Combine hot tea with SCOBY : Make sure the tea is at a suitable temperature (below 37º) before adding the SCOBY.
- Try to make it without sugar : Sugar is essential for the fermentation process. Do not try to substitute it with non-caloric sweeteners.
- Adding flavors too soon : Flavors should be added during the second fermentation, not the first.
Choosing an inappropriate storage location : The place where you ferment your kombucha should be dark, cool and with adequate air flow, away from direct sunlight and chemicals.- Not maintaining a constant temperature : Temperature plays an important role in fermentation. It is essential to maintain a constant temperature range to achieve quality kombucha.
- Cut off airflow during early fermentation : Kombucha needs to breathe during the early stages of fermentation. Do not cover the container tightly at first.
- Not supervising the process : It is essential to test and observe your kombucha regularly to ensure that it is fermenting correctly.
- Get creative with proportions : While experimenting can be fun, it's vital to follow the recipe and keep the proportions correct, especially when you're a beginner.
Ignoring the sugar-tea relationship. Sugar is essential for the SCOBY as it feeds on it and converts it into beneficial acids. Ignoring or altering the recommended sugar-to-tea ratio could result in an unbalanced kombucha or a hungry SCOBY. It is essential to maintain the correct proportion to ensure a healthy ferment.- Neglecting the SCOBY. The SCOBY is the heart of your kombucha, and neglecting it can be detrimental to your drink. Be sure to handle it with care, do not expose it to extreme temperatures, and renew or share it when it is too large or old.
- Do not rotate or renew the SCOBY. Over time, the SCOBY will grow in thickness and may become less effective. It's a good idea to rotate it or use younger layers of the SCOBY to maintain the quality of your kombucha. Plus, sharing or gifting SCOBY shells to friends or family is a great way to spread the kombucha love.
Failure to properly cover the container during fermentation. While kombucha needs to breathe during the first fermentation, it is crucial to avoid contaminants like insects or dust. Using a thin woven cloth or paper towel, secured with a rubber band, allows air to enter while keeping the kombucha safe.- Using kombucha as a “healing” without prior research. Although kombucha has beneficial properties, it should not be considered a panacea or cure for all diseases. Before consuming it for medicinal purposes, it is important to do your research and consult a health professional.
- Ignore mold formation. If mold appears in your kombucha, it's a sign that something has gone wrong. Mold can be dangerous, so if you see any mold forming in your kombucha or SCOBY, it's essential to throw everything out and start over.
Letting the kombucha ferment for too long. Although a longer fermentation time can reduce the sugar content, it can also make the kombucha too acidic or vinegary. It is crucial to find a balance to obtain a pleasant flavor.- Ignore the signs of a sick SCOBY. If your SCOBY starts to smell bad, change color strangely, or develop unusual textures, it could be sick or contaminated. In this case, it is best to scrap it and start with a new SCOBY.
- Not tasting kombucha regularly. Personal taste plays a crucial role in the optimal fermentation point. Tasting kombucha regularly will help you determine when it's ready for your palate.
- Not enjoying the process. Making kombucha at home is a rewarding and fun experience. Although there are mistakes that can occur, the key is to learn from them and enjoy the art of fermenting at home.
Si después de toda esta información te quedan dudas, te recomendamos encarecidamente que leas El gran libro de la kombucha, escrito por Hannah Crum.
Hannah es la fundadora de kombuchakamp.com, la página sobre kombucha más visitada del mundo. Además es la presidenta de la Kombucha Brewers International, la asociación que aglutina los productores de kombucha más concienciados del mundo por hacer un producto excelente, entre ellos Mun Kombucha ;-)
En el libro encontrarás toda la información que te puedas imaginar sobre trucos, recetas, materiales, técnicas y un largo etcétera que resolverán todas las dudas que te puedas plantear y te adentrarán todavía más en el apasionante mundo de elaborar kombucha.


